 reckoning.dev
 # My Arch Linux Setup with GNOME 3
Table of Contents
If you have been following me on this space, you would have known by now, I am very particular about my computers, its operating systems, looks, softwares etc. Before you start getting any wrong ideas, my love for Arch Linux is still going strong.
However, I have moved on to Gnome 3 as my choice desktop. This post is an updated version of my previous post with the latest configuration of my machine. I have also update my GPU to 1080 Ti to be able to run some computer vision models at reasonable speeds. I use this desktop for some audio processing and some Kaggle-level computer vision/deep learning.
In this post, we will do a complete installation of Arch Linux with Gnome 3 as the desktop environment. Our setup will also involve encryption of the root partition that will be formatted in btrfs.
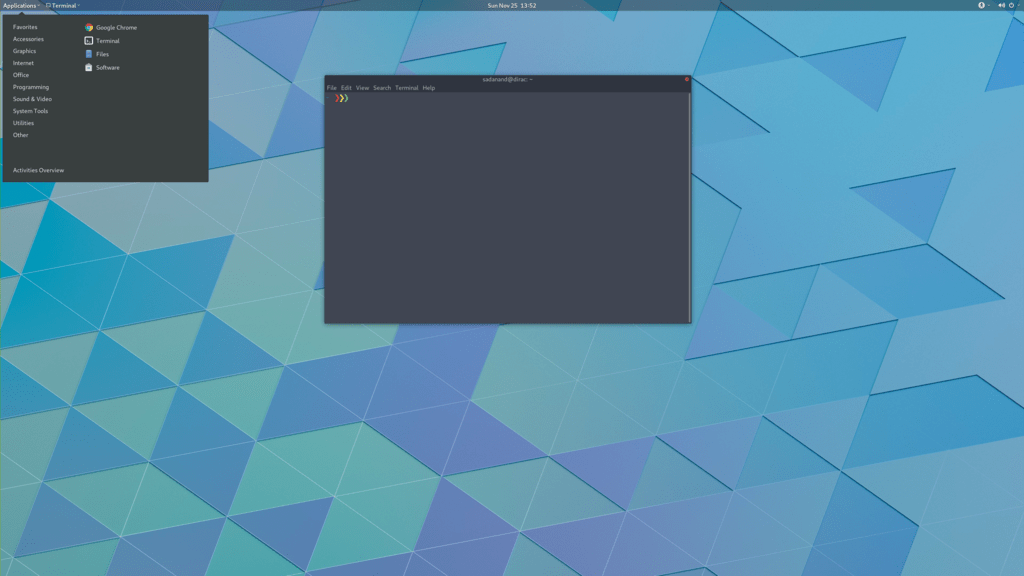
Table of Contents
System Details
For reference, my installation system is a slightly upgraded form of my original desktop:
- i7 4790 3.6 GHz (Haswell)
- ASRock Z97 Extreme6 LGA 1150 Intel Z97 HDMI SATA USB 3.0
- ADATA XPG V1.0 DDR3 1866 4x4 GB RAM
- OCZ Vertex 460A Series 2.5” 240 GB
- WD Blue 1TB 3.5” 7200 RPM, 64MB Cache
- WD Blue 3TB 3.5” 7200 RPM, 64MB Cache
- Ultra LSP V2 650 Watt PSU
- Cooler Master - MasterCase Pro 5
- Asus BW-12B1ST/BLK/G/AS Blue Ray Burner
- Samsung U28E590D 28-Inch UHD LED-Lit 4K Monitor
- Nvidia GeForce GTX 1080 Ti GPU
Base Installation
Before beginning this guide, I would assume that you have a bootable USB of the latest Arch Linux Installer. If not, please follow the Arch wiki guide. Once you login into the installer USB, You will be logged in as the root user, and presented with a zsh shell. I will assume you have an Ethernet connection and hence will be connected to Internet by default. If you have to rely on wifi, please refer to the Wireless Network Configuration wiki page for the detailed setup. You must have Internet connection at this stage before proceeding any further.
You should boot into UEFI mode if you have a UEFI motherboard and UEFI mode enabled. To verify that you have booted in UEFI mode, please run:
efivar -lThis should print all set UEFI variables. Please look at the Arch Installation Guide in case you do not get any list of UEFI variables.
If you have high resolution 4K monitor like me, you will need to run following to increase fonts to a readable size:
pacman -Sypacman -S terminus-fontsetfont ter-132nWe are all set to get started with the actual installation process.
Partitioning Hard Drives
First find the hard drive that you will be using as the main/root disk.
lsblk
# OUTPUT eg.# major minor  #blocks  name
# 8        0  268435456 sda# 9        0  268435456 sdb# 19       0  268435456 sdc# 11       0     759808 sr0# 7        0     328616 loop0
We will be using /dev/sda as the main disk (with / & /home), /dev/sdb as /data and /dev/sdc as /media .
Because we are creating an encrypted file system it’s a good idea to first overwrite it with random data. This can be done by filling the disk with zeros. Note that my disk is 240 GB, hence I have put a count of 250000. After filling the space with zero, we will need to recreate/overwrite the GPT.
dd if=/dev/zero of=/dev/sda bs=1M count=250000gdisk /dev/sda# Found invalid MBR and corrupt GPT. What do you want to do? (Using the# GPT MAY permit recovery of GPT data.)#  1 - Use current GPT#  2 - Create blank GPT
# Then press 2 to create a blank GPT and start fresh
# ZAP:# press x - to go to extended menu# press z - to zap# press Y - to confirm# press Y - to delete MBR
# It might now kick us out of _gdisk_, so get back into it:gdisk /dev/sda
Command (? for help): mCommand (? for help): n
Partition number (1-128, default 1):First sector (34-500118158, default = 2048) or {+-}size{KMGTP}:Last sector (2048-500118, default = 500118) or {+-}size{KMGTP}: 512MCurrent type is 'Linux filesystem'Hex code or GUID (L to show codes, Enter = 8300): ef00Changed type of partition to 'EFI System'
Partition number (2-128, default 2):First sector (34-500118, default = 16779264) or {+-}size{KMGTP}:Last sector (16779264-500118, default = 500118) or {+-}size{KMGTP}:Current type is 'Linux filesystem'Hex code or GUID (L to show codes, Enter = 8300):Changed type of partition to 'Linux filesystem'
Command (? for help): p# Press w to write to disk# Press Y to confirm
Repeat the above procedure for /dev/sdb and /dev/sdc, but create just one partition with all values as default. At the end we will have three partitions: /dev/sda1, /dev/sda2, /dev/sdb1 and /dev/sdc1.
Setup Disk Encryption
Our /boot partition will be on /dev/sda1, while the main installation will be on /dev/sda2. In this setup, we will be enabling full encryption on /dev/sda2 only.
In order to enable disk encryption, we will first create a root luks volume, open it and then format it.
# first, we need to prepare the encrypted (outer) volumecryptsetup --cipher aes-xts-plain64 --hash sha512 --use-random --verify-passphrase luksFormat /dev/sda2
# This will ask you to type YES in all capital letters.# I really hope I don't have to lecture you on NOT LOSING this# password, lest all of your data will be forever inaccessible,# right?
# then, we actually open it as a block device, and format the# inner volume latercryptsetup luksOpen /dev/sda2 root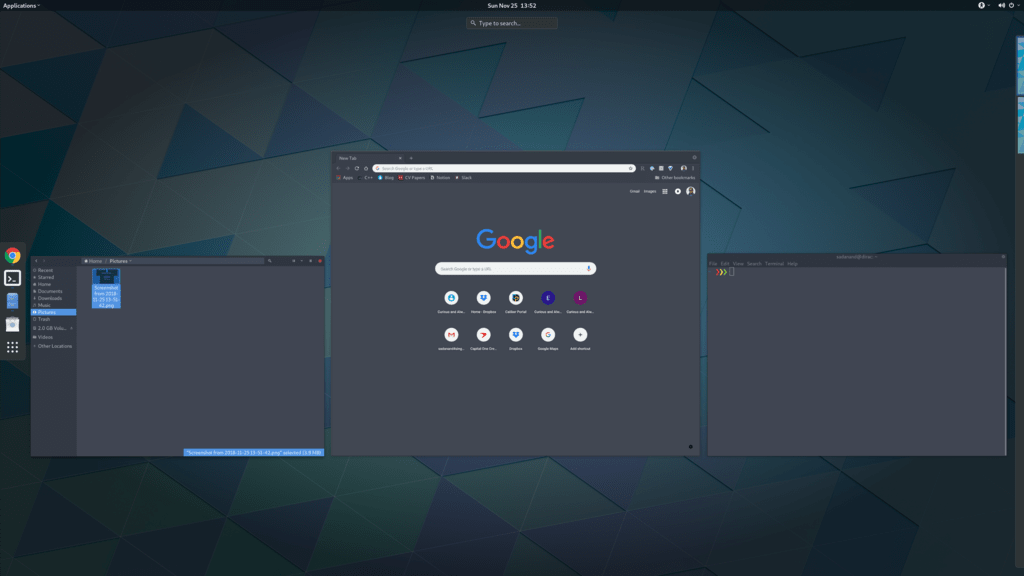

Automatic Key Login from an USB/SD Card
If you want to automatically login the encrypted disk password from an externally attached USB or SD card, you will first need to create a random key file. Then, add this key to the luks container, so that it can be later used to open the encrypted drive.
dd bs=512 count=4 if=/dev/urandom of=KEYFILEcryptsetup luksAddKey /dev/sda2 KEYFILEThe recommended way of using such a disk would be as follows:
# assuming our USB of interest is /dev/sdd  and can be formatted## Format the drivedd if=/dev/zero of=/dev/sdd bs=1M# Create partitions using gdisk#gdisk /dev/sdd## Follow along to create one partition (/dev/sdd1) of type 0700## format /dev/sdd1mkfs.fat /dev/sdd1
# mount the newly format disk on /mnt and then copy the KEYFILEmount /dev/sdd1 /mntmv KEYFILE /mnt/KEYFILEumount /mnt
We will be later using this KEYFILE in our boot loader setup.
Format HDDs
At this point, we have following drives ready to format: /dev/sda1, /dev/mapper/root, /dev/sdb1 and /dev/sdc1. I plan to format /dev/sda1 with vfat, /dev/mapper/root with btrfs, /dev/sdb1 and /dev/sdc1 with xfs.
mkfs.vfat -F32 /dev/sda1mkfs.btrfs -L arch /dev/mapper/rootmkfs.xfs -L data /dev/sdb1mkfs.xfs -L media /dev/sdc1Now, we will create btrfs subvolumes and mount them properly for installation and final setup.
mount /dev/mapper/root /mntbtrfs subvolume create /mnt/ROOTbtrfs subvolume create /mnt/homeumount /mntNow, once the sub-volumes have been created, we will mount them in appropriate locations with optimal flags.
SSD_MOUNTS="rw,nodev,noatime,nodiratime,compress=lzo,ssd,discard,space_cache"HDD_MOUNTS="rw,relatime,attr2,inode64,noquota"EFI_MOUNTS="rw,noatime,discard,nodev,nosuid,noexec"mount -o $SSD_MOUNTS,subvol=ROOT /dev/mapper/root /mntmkdir -p /mnt/homemkdir -p /mnt/datamkdir -p /mnt/mediamount -o $SSD_MOUNTS,nosuid,subvol=home /dev/mapper/root /mnt/homemount -o $HDD_MOUNTS /dev/sdb1 /mnt/datamount -o $HDD_MOUNTS /dev/sdc1 /mnt/media
mkdir -p /mnt/bootmount -o $EFI_MOUNTS /dev/sda1 /mnt/boot
Base System Installation
Now, we will do the actually installation of base packages. At this point, we will also save the current /etc/resolv.conf file for future use!
pacstrap /mnt base base-devel btrfs-progsgenfstab -U -p /mnt >> /mnt/etc/fstab
cp /etc/resolv.conf /mnt/etc/resolv.conf
Initial System Setup
Edit the /mnt/ect/fstab file to add following /tmp mounts.
tmpfs /tmp tmpfs rw,nodev,nosuid 0 0tmpfs /dev/shm tmpfs rw,nodev,nosuid,noexec 0 0Finally bind root for installation.
arch-chroot /mntpacman -Syypacman -Syupacman -S sudo vimvim /etc/locale.gen
# ...# en_SG ISO-8859-1en_US.UTF-8 UTF-8# en_US ISO-8859-1# ...
locale-genecho LANG=en_US.UTF-8 > /etc/locale.confexport LANG=en_US.UTF-8ls -l /usr/share/zoneinfoln -sf /usr/share/zoneinfo/Zone/SubZone /etc/localtimehwclock --systohc --utcsed -i "s/# %wheel ALL=(ALL) ALL/%wheel ALL=(ALL) ALL/" /etc/sudoersHOSTNAME=eulerecho $HOSTNAME > /etc/hostnamepasswd
We will also add hostname to our /etc/hosts file:
# ...127.0.0.1 localhost.localdomain localhost::1 localhost.localdomain localhost127.0.0.1 $HOSTNAME.localdomain $HOSTNAME# ...Now, we need to update the mkinitcpio.conf with specific modules needed for encryption and btrfs.
# mkinitcpio.conf# on the MODULES section, add "vfat aes_x86_64 crc32c-intel"# (and whatever else you know your hardware needs.)## on the BINARIES section, add "/usr/bin/btrfsck", since it's useful# to have in case your filesystem has troubles## on the HOOKS section:# - add "encrypt" before "filesystems"# - remove "fsck" and# - add "btrfs" at the end## re-generate your initrd imagesFinally run:
mkinitcpio -p linuxBoot Manager Setup
systemd-boot is a simple UEFI boot manager which executes configured EFI images. The default entry is selected by a configured pattern (glob) or an on-screen menu. It is included with the systemd that comes with the kernel. Assuming /boot is your boot drive, first run the following command to get started:
bootctl installIt will copy the systemd-boot binary to your EFI System Partition (/boot/EFI/systemd/systemd-bootx64.efi and /boot/EFI/Boot/BOOTX64.EFI - both of which are identical - on x64 systems ) and add systemd-boot itself as the default EFI application (default boot entry) loaded by the EFI Boot Manager.
Finally to configure out boot loader, we will need the UUID of some of our hard drives. These can be easily done using the blkid command.
blkid /dev/sda2 > /boot/loader/entries/arch.confblkid /dev/sda2 >> /boot/loader/entries/arch.confblkid /dev/mapper/root >> /boot/loader/entries/arch.confblkid /dev/sdd1 >> /boot/loader/entries/arch.conf
# for this example, I'm going to mark them like this:# /dev/sda2 LABEL="arch"      UUID=33333333-3333-3333-3333-333333333333# /dev/mapper/root LABEL="Arch Linux"   UUID=44444444-4444-4444-4444-444444444444# /dev/sdd1 LABEL="USB"     UUID=0000-0000  # this is the drive where KEYFILE exists
Now, make sure that the following two files look as follows, where UUIDs is the value obtained from above commands.
timeout 3default archtitle Arch Linuxlinux /vmlinuz-linuxinitrd /initramfs-linux.imgoptions ro cryptdevice=UUID=33333333-3333-3333-3333-333333333333:luks-33333333-3333-3333-3333-333333333333 root=UUID=44444444-4444-4444-4444-444444444444 rootfstype=btrfs rootflags=subvol=ROOT cryptkey=UUID=0000-0000:vfat:KEYFILE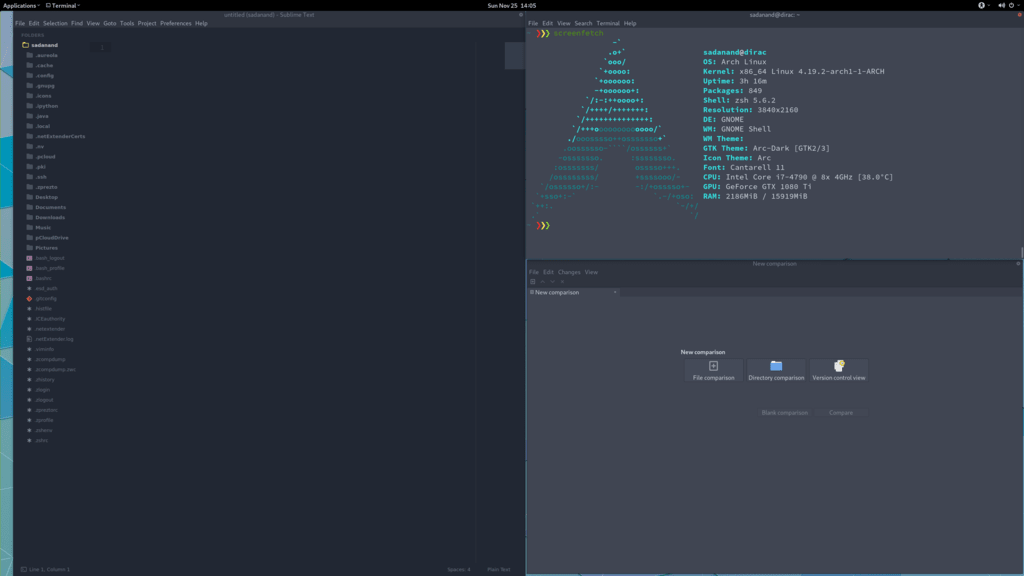
Network Setup
At first we will need to figure out the Ethernet controller on which cable is connected. This can be achieved by first finding out the kernel module that is being used by the live version on Arch. Then the module can be used to track the device that is active.
lspci -v | grep Ethernet## 02:00.0 Ethernet controller: Attansic Technology Corp. L1 Gigabit Ethernet Adapter (rev b0)#  ...#  Kernel driver in use: atl1#  Kernel modules: atl1
dmesg | grep atl1# ...# atl1 0000:02:00.0: enp0s25 link is up 100 Mbps full duplex
In my case, the name of the device is enp0s25. Using this name of the device, we need to configure, and enable the systemd-networkd service. Note that we will using the resolv.conf that we saved from this session. Network configurations are stored as *.network in /etc/systemd/network. We need to create ours as below. Once the network settings file has been created we can enable the networkd service.
[Match]Name=enp0s25
[Network]DHCP=ipv4
Now, start the networkd service:
systemctl enable systemd-networkd.serviceYour network should be ready for the first use! We can also sync time automatically using the timesyncd service:
[Time]NTP=0.arch.pool.ntp.org 1.arch.pool.ntp.org 2.arch.pool.ntp.org 3.arch.pool.ntp.orgFallbackNTP=0.pool.ntp.org 1.pool.ntp.org 0.fr.pool.ntp.orgAvahi is a tool that allows programs to publish and discover services and hosts running on a local network with no specific configuration. For example you can plug into a network and instantly find printers to print to, files to look at and people to talk to. We can easily set it up it as follows:
pacman -S avahi nss-mdnssystemctl enable avahi-daemon.serviceGUI Installation with nvidia
We will now install the nvidia drivers so that our system is ready for any GUI based desktop installation after the first boot.
pacman -S xorg-server nvidia nvidia-libgl nvidia-settings mesaTo avoid the possibility of forgetting to update your initramfs after an nvidia upgrade, you have to use a pacman hook like this:
# if the hooks folder is not present, create one using mkdir# mkdir -p /etc/pacman.d/hooksvim /etc/pacman.d/hooks/nvidia.hookWith the following content:
[Trigger]Operation=InstallOperation=UpgradeOperation=RemoveType=PackageTarget=nvidia
[Action]Depends=mkinitcpioWhen=PostTransactionExec=/usr/bin/mkinitcpio -p linux
Nvidia has a daemon that is to be run at boot. To start the persistence daemon at boot, enable the nvidia-persistenced.service.
systemctl enable nvidia-persistenced.servicesystemctl start nvidia-persistenced.serviceEnabling Better tty Resolution During Boot
The kernel compiled in efifb module supports high-resolution nvidia console on EFI systems. This can enabled by enabling the DRM kernel mode setting.
First, we will need to add following to MODULES section of the mkinitcpio.conf file:
- nvidia
- nvidia_modeset
- nvidia_uvm
- nvidia_drm
We will also need to pass the nvidia-drm.modeset=1 kernel parameter during the boot.
vim /etc/mkinitcpio.conf
# ...MODULES="vfat aes_x86_64 crc32c-intel nvidia nvidia_modeset nvidia_uvm nvidia_drm"# ...
Also edit the bootloader file:
vim /boot/loader/entries/arch.conf
# ...options ro cryptdevice=UUID=:luks- root=UUID= rootfstype=btrfs rootflags=subvol=ROOT cryptkey=UUID=:vfat:deepmind20170602 nvidia-drm.modeset=1# ...
mkinitcpio -p linux
First Boot Installations
Now we are ready for the first boot! Run the following command:
exitumount -R /mntrebootYou should get larger fonts with the new terminal now as we are using the nvidia console now. It should have automatically unlocked your encrypted root disk, since USB with key is attached to the machine.
After your new system boots, Network should be setup at the start. Check the status of network:
# Set readable font first!setfont ter-132nping google.com -c 2
## PING google.com (10.38.24.84) 56(84) bytes of data.# 64 bytes from google.com (10.38.24.84): icmp_seq=1 ttl=64 time=0.022 ms# 64 bytes from google.com (10.38.24.84): icmp_seq=2 ttl=64 time=0.023 ms## --- google.com ping statistics ---# 2 packets transmitted, 2 received, 0% packet loss, time 999ms# rtt min/avg/max/mdev = 0.022/0.022/0.023/0.004 ms#
If you do not get any output from ping, please follow the troubleshooting links at Arch Wiki on setting up network.
Now enable the automatic syncing of time from the ntp servers.
timedatectl set-ntp truetimedatectl status
# ...#       Local time: Tue 2016-09-20 16:40:44 PDT#   Universal time: Tue 2016-09-20 23:40:44 UTC#         RTC time: Tue 2016-09-20 23:40:44#        Time zone: US/Pacific (PDT, -0700)#  Network time on: yes# NTP synchronized: yes#  RTC in local TZ: no#  ...
We can also automate the hostname setup using the following systemd command. Please replace $HOSTNAME with the hostname of your choice.
hostnamectl set-hostname $HOSTNAMEAdding New User
Choose $USERNAME per your liking. I chose ssingh, so in future commands whenever you see ssingh please replace it with your $USERNAME.
pacman -S zshuseradd -m -G wheel -s /usr/bin/zsh $USERNAMEchfn --full-name "$FULL_NAME" $USERNAMEpasswd $USERNAMEGnome 3 Installation and Setup
We can now proceed with the installation of Gnome 3. In the process, we will also install some useful applications and fonts. The process very trivial, install few packages and then enable the gdm service.
pacman -S ttf-hack ttf-anonymous-pro ttf-dejavu ttf-freefont ttf-liberationpacman -S gnome gdm guake gnome-tweak-toolpacman -S screenfetch curl wget dconf-editor dmidecode git meldpacman -S unace unrar zip unzip sharutils  uudeview  arj cabextract file-roller
systemctl enable gdm.service
Choose pacman Mirrors
We will now choose fastest merrors for pacman. The pacman-contrib package provides a bash script, /usr/bin/rankmirrors, which can be used to rank the mirrors according to their connection and opening speeds to take advantage of using the fastest local mirror. Finally, we can reboot to log on to our new gnome system.
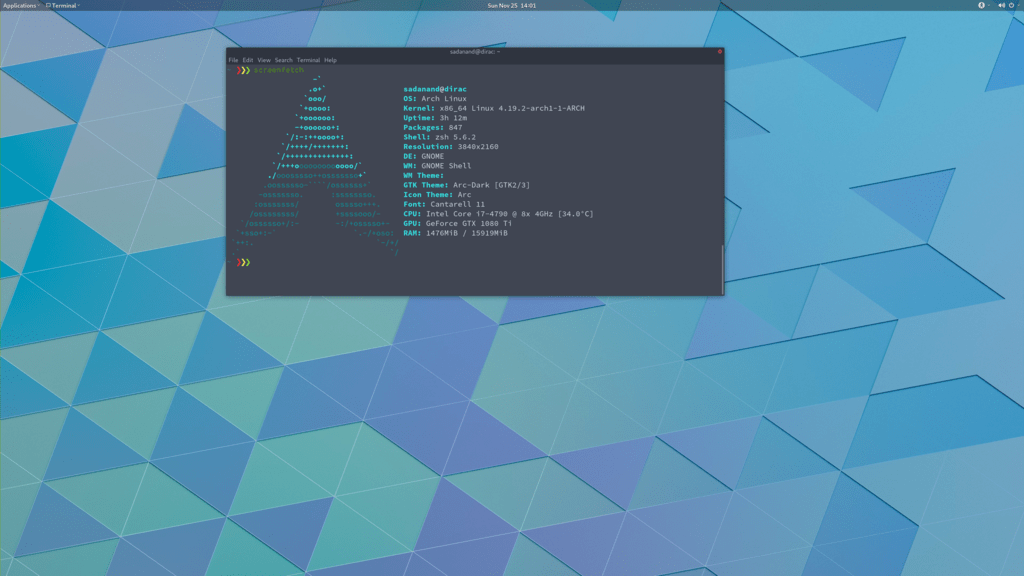
pacman -S pacman-contribcp /etc/pacman.d/mirrorlist /etc/pacman.d/mirrorlist.backup#rankmirrors -n 6 /etc/pacman.d/mirrorlist.us > /etc/pacman.d/mirrorlistpacman -Sypacman -Syu#systemctl rebootOnce, we boot into the new system, we should have a basic gnome 3 desktop waiting for you. In the following section, we will be do installation and modifications to the system that I prefer.
Post Installation Setup
After rebooting, you should get the gdm login screen. Use your username and password to login. This should give you a vanilla gnome 3 screen. We will first install few essentials, then modify our gnome 3 to look something to my linking. In order to proceed, find the terminal program by pressing alt + s and searching for terminal.
Setup AUR
AUR is a community-driven repository for Arch users. This allows you to install many popular packages that are otherwise not available through core repositories.
In order to make all types of installations uniform, I use yay as the preferred tool for installing all packages. It is blazing fast as it is written in go and used all the flags from regular pacman.
git clone https://aur.archlinux.org/yay.gitcd yaymakepkg -sicd ../rm -rf yayFrom now on, we can use yay as a replacement for pacman. Additionally, we can now also install AUR packages.
Web Browsers
My preferred choice of browsers is google chrome.
yay -S google-chromeProfile-sync-daemon (psd) is a tiny pseudo-daemon designed to manage browser profile(s) in tmpfs and to periodically sync back to the physical disc (HDD/SSD). This is accomplished by an innovative use of rsync to maintain synchronization between a tmpfs copy and media-bound backup of the browser profile(s). These features of psd leads to following benefits:
- Transparent user experience
- Reduced wear to physical drives, and
- Speed
To setup. first install the profile-sync-daemon package.
yay -S profile-sync-daemonRun psd the first time which will create a configuration file at $XDG_CONFIG_HOME/psd/psd.conf which contains all settings.
psd# First time running psd so please edit# /home/$USERNAME/.config/psd/psd.conf to your liking and run again.In the config file change the BROWSERS variables to google-chrome. Also, enable the use of overlayfs to improve sync speed and to use a smaller memory footprint. Do this in the USE_OVERLAYFS="yes" variable.
In order to use the OVERLAYFS feature, you will also need to give sudo permissions to psd-helper at the end of the sudoers file, as follows (replace $USERNAME accordingly):
vim /etc/sudoers# ...$USERNAME ALL=(ALL) NOPASSWD: /usr/bin/psd-overlay-helper# ...
# Verify the working of configuration using the preview mode of psd:psd p
# Finally we will enable the user systemctly service to enable psd every time we login.systemctl --user enable psd.servicesystemctl --user start psd.service
git Setup
Setup git global options as below. You will need to add the following content to $HOME/.gitconfig file.
# $HOME/.gitconfig[user]    name = YOUR_NAME    email = EMAIL_ADDRESS[color]    ui = auto[status]    showuntrackedfiles = no[alias]    gist = log --graph --oneline --all --decorate --date-order    find = log --graph --oneline --all --decorate --date-order --regexp-ignore-case --extended-regexp --grep    rfind = log --graph --oneline --all --decorate --date-order --regexp-ignore-case --extended-regexp --invert-grep --grep    search = grep --line-number --ignore-case -E -I[pager]    status = true[push]    default = matching[merge]    tool = meld[diff]    tool = meld
[help]    autocorrect = 1
ssh Setup
To get started first install the openssh package.
yay -S opensshThe ssh server can be started using the systemd service. Before starting the service, however, we want to generate ssh keys and setup the server for login based only on keys.
ssh-keygen -t ed25519Create a .ssh/config file for rmate usage in sublime text.
# $HOME/.ssh/configvim ~/.ssh/config# ...RemoteForward 52698 localhost:52698# ...Create ~/.ssh/authorized_keys file with list of machines that are allowed to login to this machine.
# $HOME/.ssh/authorized_keystouch ~/.ssh/authorized_keysFinally edit the /etc/ssh/sshd_config file to disable Password based logins.
sudo vim /etc/ssh/sshd_config# ...PasswordAuthentication no# ...Furthermore, before enabling the sshd service, please also ensure to copy your keys to all your relevant other servers and places like github. We can now use systemd to start the ssh service.
systemctl enable sshd.socketsystemctl start sshd.socketzsh Setup
During the user creation, we already installed the zsh shell. We have also activated a basic setup at first login by the user.
In this section, we will be installing my variation of zprezto package to manage zsh configurations.
We will first install the main zprezto, then add my own modification on top of it.
git clone --recursive https://github.com/sorin-ionescu/prezto.git "${ZDOTDIR:-$HOME}/.zprezto"
# Now, We will add my version of prezto to the same git repo.cd ~/.zpreztogit pull personal archgit checkout archgit merge master
# Now create relevant soft linkssetopt EXTENDED_GLOBfor rcfile in "${ZDOTDIR:-$HOME}"/.zprezto/runcoms/^README.md(.N);do ln -sf "$rcfile" "${ZDOTDIR:-$HOME}/.${rcfile:t}"done
zshAnd we are all setup for using zsh!
Gnome 3 Modifications
We will modify gnome 3 by changing theme, icons and fonts. First install additional themes, fonts, icons etc.
yay -S ttf-font-awesome adobe-source-code-pro-fonts
# Sardi iconsgit clone https://github.com/erikdubois/Sardi-Extra /tmp/Sardi-Extrafind /tmp/Sardi-Extra -maxdepth 1 -type f -exec rm -rf '{}' \;cp -rf /tmp/Sardi-Extra/* ~/.icons/# cleaning tmp[ -d /tmp/Sardi-Extra ] && rm -rf /tmp/Sardi-Extra[ -d /tmp/sardi ] && rm -rf /tmp/sardi# if there is no hidden folder then make one[ -d $HOME"/.icons" ] || mkdir -p $HOME"/.icons"wget -O /tmp/sardi.tar.gz "https://sourceforge.net/projects/sardi/files/latest/download?source=files"mkdir /tmp/sarditar -zxf /tmp/sardi.tar.gz -C /tmp/sardirm /tmp/sardi.tar.gzcp -rf /tmp/sardi/* ~/.icons/[ -d /tmp/sardi ] && rm -rf /tmp/sardi
# Surfngit clone https://github.com/erikdubois/Surfn /tmp/Surfnfind /tmp/Surfn -maxdepth 1 -type f -exec rm -rf '{}' \;cp -rf /tmp/Surfn/* ~/.icons/# cleaning tmp[ -d /tmp/Surfn ] && rm -rf /tmp/Surfn
# arc themeyay -S arc-gtk-theme
#Plank Themesrm -rf /tmp/Plank-Themesgit clone https://github.com/erikdubois/Plank-Themes /tmp/Plank-Themesfind /tmp/Plank-Themes -maxdepth 1 -type f -exec rm -rf '{}' \;# if there is no hidden folder then make one[ -d $HOME"/.local/share/plank" ] || mkdir -p $HOME"/.local/share/plank"# if there is no hidden folder then make one[ -d $HOME"/.local/share/plank/themes" ] || mkdir -p $HOME"/.local/share/plank/themes"cp -r /tmp/Plank-Themes/* ~/.local/share/plank/themes/rm -rf /tmp/Plank-Themes
# Breeze cursoryay -S breeze-snow-cursor-theme
Now you can open gnome-settings and tweaks tools to change themes, icons, cursors etc. to your linking. If you have a high resolution 4K monitor like mw, you can enable the fractional upscaling in the tweaks program. See this link for an example.
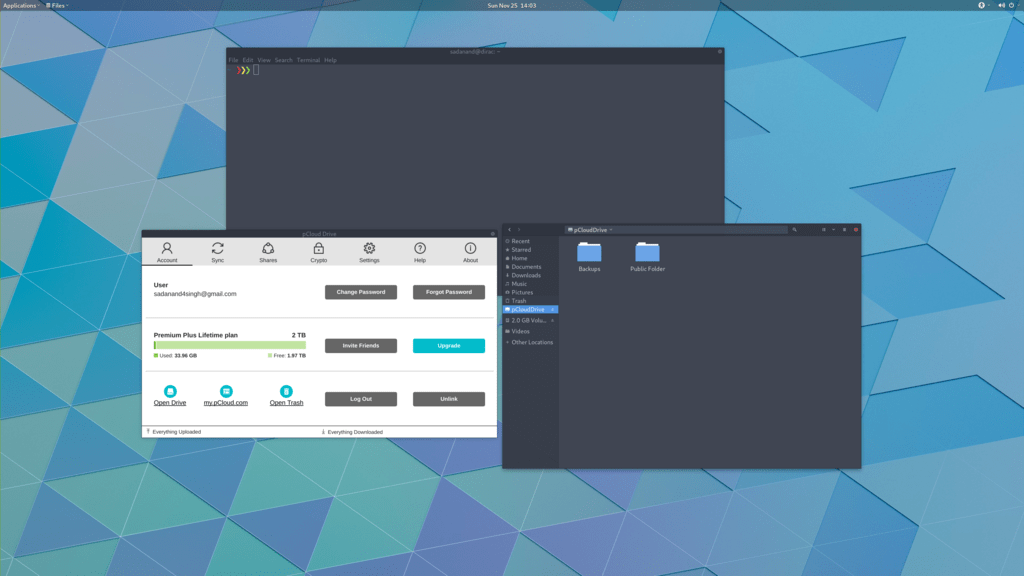
pcloud vs Dropbox
Recently, dropbox removed support for most of relevant file systems on linux. I was already not a fan of their higher prices. It was time to move on to something better. Then I found, pcloud. This service runs quite well on linux (as well as OSX, I really do not care about anything related to Windows!). pcloud has some interesting features:
- You can purchase space for lifetime!
- All the data actually reside on a fuse drive, so you hard disk is not used
- You can pay to have support for built-in encryption.
- The public folder gets a link, that you can use to host a static website or static contents of your webpages.
Additionally, I found some ultra- great deal over the black Friday weekend! To get support for pcloud in Arch, all you need to do is install it!
yay -S pcloud-driveEditors
My choice of editor is neovim and sublime text. Please refer to my previous post for details on setting up Sublime Text 3. Following is the setup required to install it:
# Install editorsyay -S hugo neovim vim## Sublime Text Repositorycurl -O https://download.sublimetext.com/sublimehq-pub.gpgsudo pacman-key --add sublimehq-pub.gpgsudo pacman-key --lsign-key 8A8F901Arm sublimehq-pub.gpg
echo -e "\n[sublime-text]\nServer = https://download.sublimetext.com/arch/dev/x86_64" | sudo tee -a /etc/pacman.conf
#Now we can install *sublime-text* as:yay -S sublime-text/sublime-text
This brings us to the conclusion of this installation guide. Hope some of you find it useful. Please drop your comments below if you have any suggestions for improvements etc.