Lately, a lot of my friends have been asking about my deep learning workstation setup. In this post I am going to describe my hardware, OS, and different packages that I use. In particular, based on the question, I found that the most of the interest have been around managing different python versions, and modules like pytorch/tensorflow libraries etc.
Table of ContentsSection titled Table of Contents
Open Table of Contents
Workstation HadwareSection titled Workstation Hadware
Here are the configurations of my workstation:
- Intel - Core i7-8700 3.2 GHz 6-Core Processor
- MSI - Z370-A PRO ATX LGA1151 Motherboard
- Corsair - Vengeance LPX 16 GB (2 x 8 GB) DDR4-3000 Memory
- Samsung - 970 Evo 250 GB M.2-2280 Solid State Drive
- Western Digital - Blue 4 TB 3.5” 5400RPM Internal Hard Drive
- Nvidia Geforce GTX 1080 Ti
- Cooler Master - MasterCase Pro 5
- Corsair RM750i 750w ATX PSU 80 Plus Gold Fully Modular
- TP-Link - Archer T9E PCI-Express x1 802.11a/b/g/n/ac Wi-Fi Adapter
- Samsung 28” UE590 UHD Monitor
- Das 4 Professional Keyboard
- Logitech MX Master 2s Mouse
As you can see, its pretty awesome built. One thing I really love about this configuration is its stability. Although, I have recently upgraded the GPU to 2080 Ti to test mixed precision training, this has been a pretty stable and trustworthy build.
OS SetupSection titled OS Setup
I avoid any rolling release linux distribution (read Arch Linux) on my work machines, since, unlike my regular desktop, I want to have a stable development system for my actual work. Also for repeatability of models, all packages, libraries and modules need to be fixed. Hence, I prefer Ubuntu LTS as my OS of choice for my workstation. In particular, I am using 18.04 LTS for this machine.
First install the Ubuntu 18.04 LTS as you would do regularly. I use the minimal installation. Note that as of this writing, only Nvidia drivers work properly for the 2080 Ti cards. So you would need to install the latest dev version of the nvidia drivers:
sudo add-apt-repository ppa:graphics-drivers/ppa
sudo apt update

ubuntu-drivers devices
sudo apt install nvidia-driver-415
systemctl rebootMy wifi card also need a propietry driver to work. I also install gnome-tweaks to modify
different aspects of the desktop look. I also use few gnome extensions like alternate-tabs and
caffeine.
sudo apt install bcmwl-kernel-source
sudo apt install gnome-tweaks
sudo apt install gnome-shell-extensions gnome-shell-extension-caffeineIf you look at my screenshots above, I prefer to use a different look for my ubuntu machine. Following are the themes, icons and wallpapers that I use. The GTK theme is canta, the Icon pack is Oranchelo. The wallpaper above is Planets on Acid. You can follow the links above to install these using Gnome Tweaks.
If you also want to change the background image of the login screen, you will have to modify the following file with the following:
# Now replace the lockDialogGroup section with the following.
# of course you would need to change the png image to something else!
---
#lockDialogGroup {
background: #2c001e url(file:///usr/share/backgrounds/solar_twins_jupiter_5120x2880.png);
background-repeat: no-repeat;
background-size: cover;
background-position: center;
---
I prefer google chrome as my default web browser, and can be installed using the following ppa.
# first download and install the key
wget -q -O - https://dl-ssl.google.com/linux/linux_signing_key.pub | sudo apt-key add -
# add ppa
sudo sh -c 'echo "deb [arch=amd64] http://dl.google.com/linux/chrome/deb/ stable main" >> /etc/apt/sources.list.d/google.list'
# install google chrome
sudo apt-get update
sudo apt-get install google-chrome-stableSome commons apps that I use can be installed as follows:
sudo apt install vim neovim
sudo apt install gpg curl
sudo apt install imagemagick
sudo apt install hdf5
sudo apt install hugo
sudo apt install gcc g++git setupSection titled git setup
First install git using apt install and then setup the $HOME/.gitconfig file. my gitconfig
looks something like below:
[user]
    name = YOUR_NAME
    email = EMAIL_ADDRESS
[color]
    ui = auto
[status]
    showuntrackedfiles = no
[alias]
    gist = log --graph --oneline --all --decorate --date-order
    find = log --graph --oneline --all --decorate --date-order --regexp-ignore-case --extended-regexp --grep
    rfind = log --graph --oneline --all --decorate --date-order --regexp-ignore-case --extended-regexp --invert-grep --grep
    search = grep --line-number --ignore-case -E -I
[pager]
    status = true
[push]
    default = matching
[merge]
    tool = meld
[diff]
    tool = meld

[help]
autocorrect = 1Shell and TerminalSection titled Shell and Terminal
I am a big fan of zsh using zprezto. You can find my settings at
my github repo in the ubuntu branch. In
particular, I use a modified version of the paradox theme that comes with
zprezto. In particular, I prefer the look of
bobthefish theme from fish shell. So this
modified paradox theme is a tiny attempt to mimic certain features of the bobthefish theme. You
can install these by first installing zprezto, then adding my github repository as another remote
in the $HOME/.zprezto git repository. The details can be found in the README file of my gihub
repo.
sudo apt install zsh
# follow the instructions for the first time setup
zsh
#install zprezto
git clone --recursive https://github.com/sorin-ionescu/prezto.git "${ZDOTDIR:-$HOME}/.zprezto"
cd ~/.zprezto
git remote add personal [email protected]:sadanand-singh/My-Zprezto.git
git fetch personal
git checkout ubuntu
git merge master
setopt EXTENDED_GLOB
for rcfile in "${ZDOTDIR:-$HOME}"/.zprezto/runcoms/^README.md(.N); do
  ln -sf "$rcfile" "${ZDOTDIR:-$HOME}/.${rcfile:t}"
done

# make zsh the default shell
chsh -s /bin/zshI use the tango dark theme and solarized color scheme of the default terminal. The paradox theme needs a powerline font to work properly. I prefer to use the Hack font.
sudo apt install fonts-hack-ttf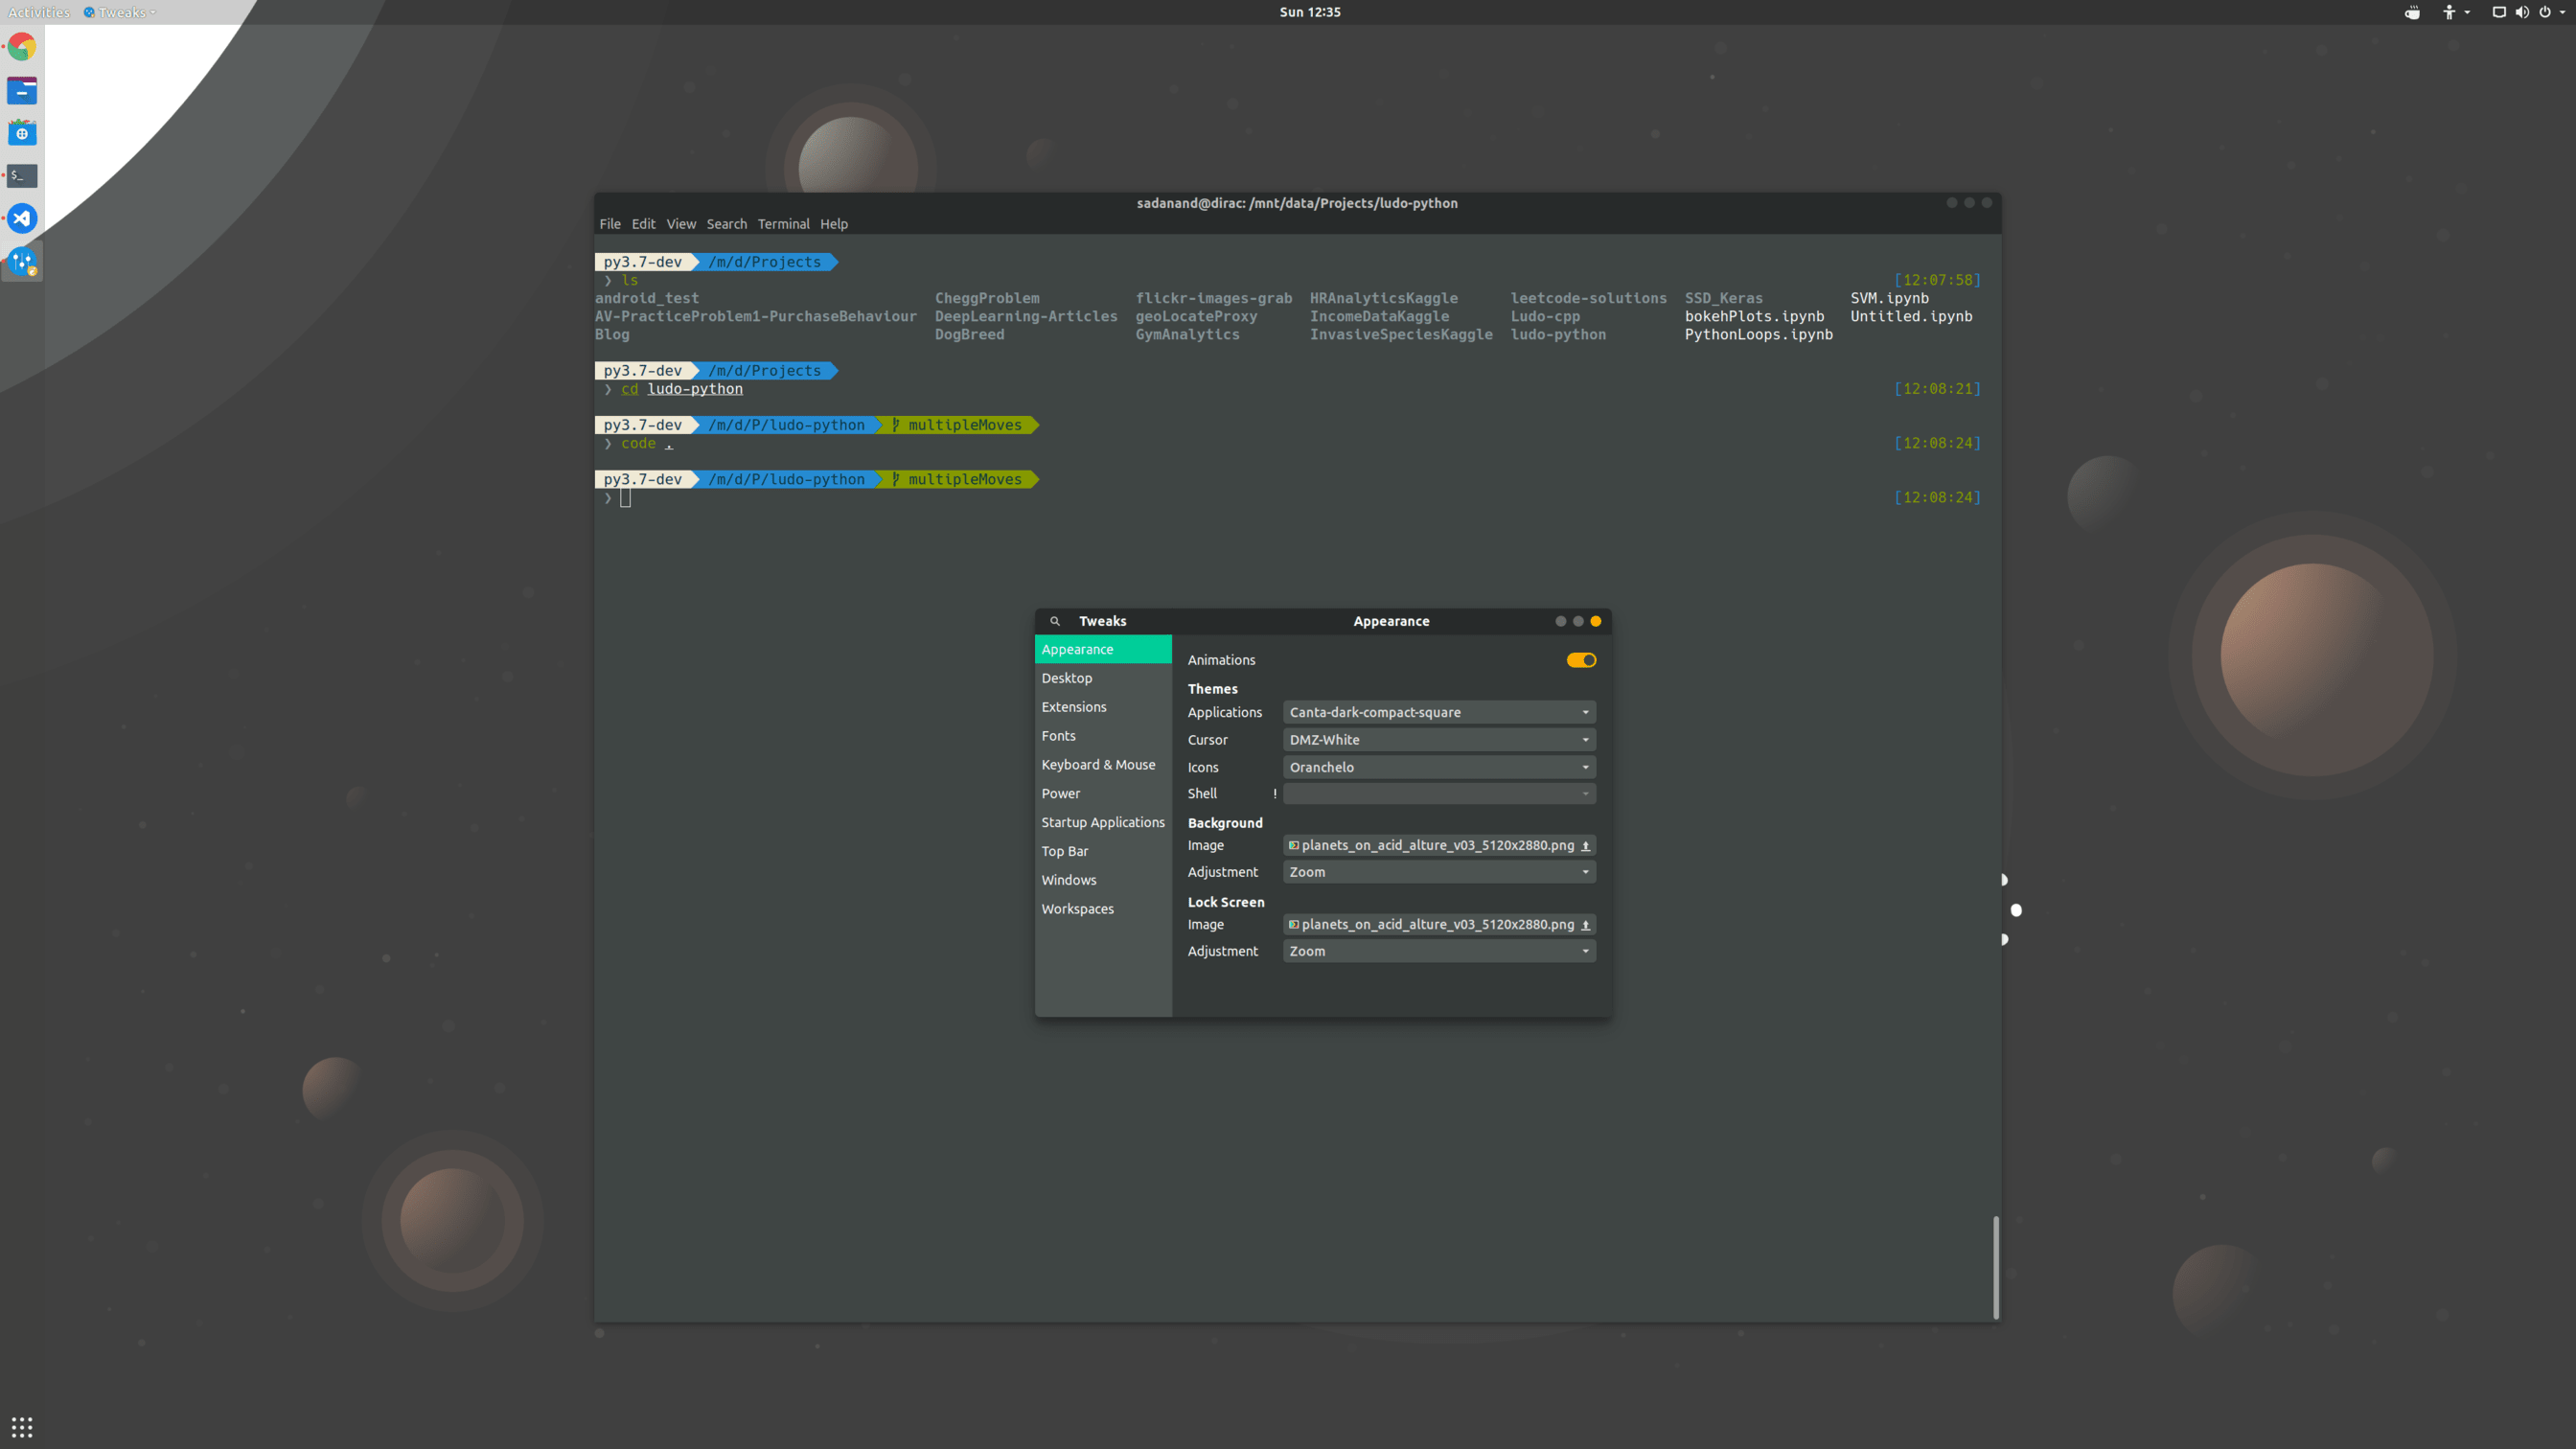
By default, specially on 4K screens, terminal opens in really tiny window. This can be modified in the terminal preferences.
Python SetupSection titled Python Setup
Now comimg to the main part of this post - maintainance of python and packages! After a lot of trial and error, I have come up with this setup, which is I think is extremely easy to manage and very flexible to support needs of a deep learning where one might need to support different versions of packages, different frameworks etc.
I use anaconda to maintain different environments. First install anaconda by downloading the 64-bit script from this website and run it as follows:
cd Downloads
bash Anaconda3-*-Linux-x86_64.sh
# now, just follow the prompt to complete the installation.
# I use the default location for installation $HOME/anaconda3
# and chose not to install VS Code from this.This will add some modification in your bashrc to make conda work properly. However, as we are
using zsh in this setup, we need to copy those contents to our $HOME/.zshrc file. The content
will look something like this:
# added by Anaconda3 2018.12 installer
# >>> conda init >>>
# !! Contents within this block are managed by 'conda init' !!
__conda_setup="$(CONDA_REPORT_ERRORS=false '/home/sadanand/anaconda3/bin/conda' shell.bash hook 2> /dev/null)"
if [ $? -eq 0 ]; then
    \eval "$__conda_setup"
else
    if [ -f "/home/sadanand/anaconda3/etc/profile.d/conda.sh" ]; then
        . "/home/sadanand/anaconda3/etc/profile.d/conda.sh"
        CONDA_CHANGEPS1=false conda activate base
    else
        \export PATH="/home/sadanand/anaconda3/bin:$PATH"
    fi
fi
unset __conda_setup
# <<< conda init <<<\Please make sure to replace sadanand by your USERNAME.
Next we will create some conda environments for regular use. First we will create a env called
py3.7-dev which will be a simple clone of the base conda environment.
conda create --name py3.7-dev --clone baseNow we can activate this new environment and update conda:
conda activate py3.7-dev
conda update conda
conda update anacondaSince this environment is going to be my default env, I simply activate this in every new shell by
adding the above line at the end of my $HOME/.zshrc file. The awesome paradox theme will show you
the currently active env in your prompt in white.
Anaconda by default adds an indicator in your prompt to show the current active env. As our theme already does this more elegantly, we can disbale this by the following command:
conda config --set changeps1 FalseIf you wish, you can create new conda environments similarly.
Installing relevant packagesSection titled Installing relevant packages
Once we are inside our env, we can install packages of interest using conda command, or if only
available using the pip, then using the pip command. Please ensure that you are using the local
version of pip by running which pip command.
Most of relevant packages like matplotlib, pandas etc. come already installed with base version of conda. Here, we will first install jedi, flake8, pytorch, torchvision, and opencv packages.
conda install jedi
conda install flake8
conda install -c menpo opencv
 # pytorch with cuda 10 support
 conda install pytorch torchvision cuda100 -c pytorch

 # install black using pip
pip install blackIts as simple as this! If you want pytorch with say cuda 9 support, you can create a new env that
is cloned from base and simply change the version of pytorch there!
CUDA installationSection titled CUDA installation
I also need the cuda libraries for developing my own pytorch modules written in C. These can be easily installed following these steps.
First download the cuda 10 runfile from nvidia for Ubuntu 18.04.
Then run following and follow the prompt for installations:
sudo sh cuda_10.0.130_410.48_linux.runI choose install only the cuda toolkit and cuda samples. Once the installation is complete, you can
check your installation by going to cuda samples directory and running make.
EditorsSection titled Editors
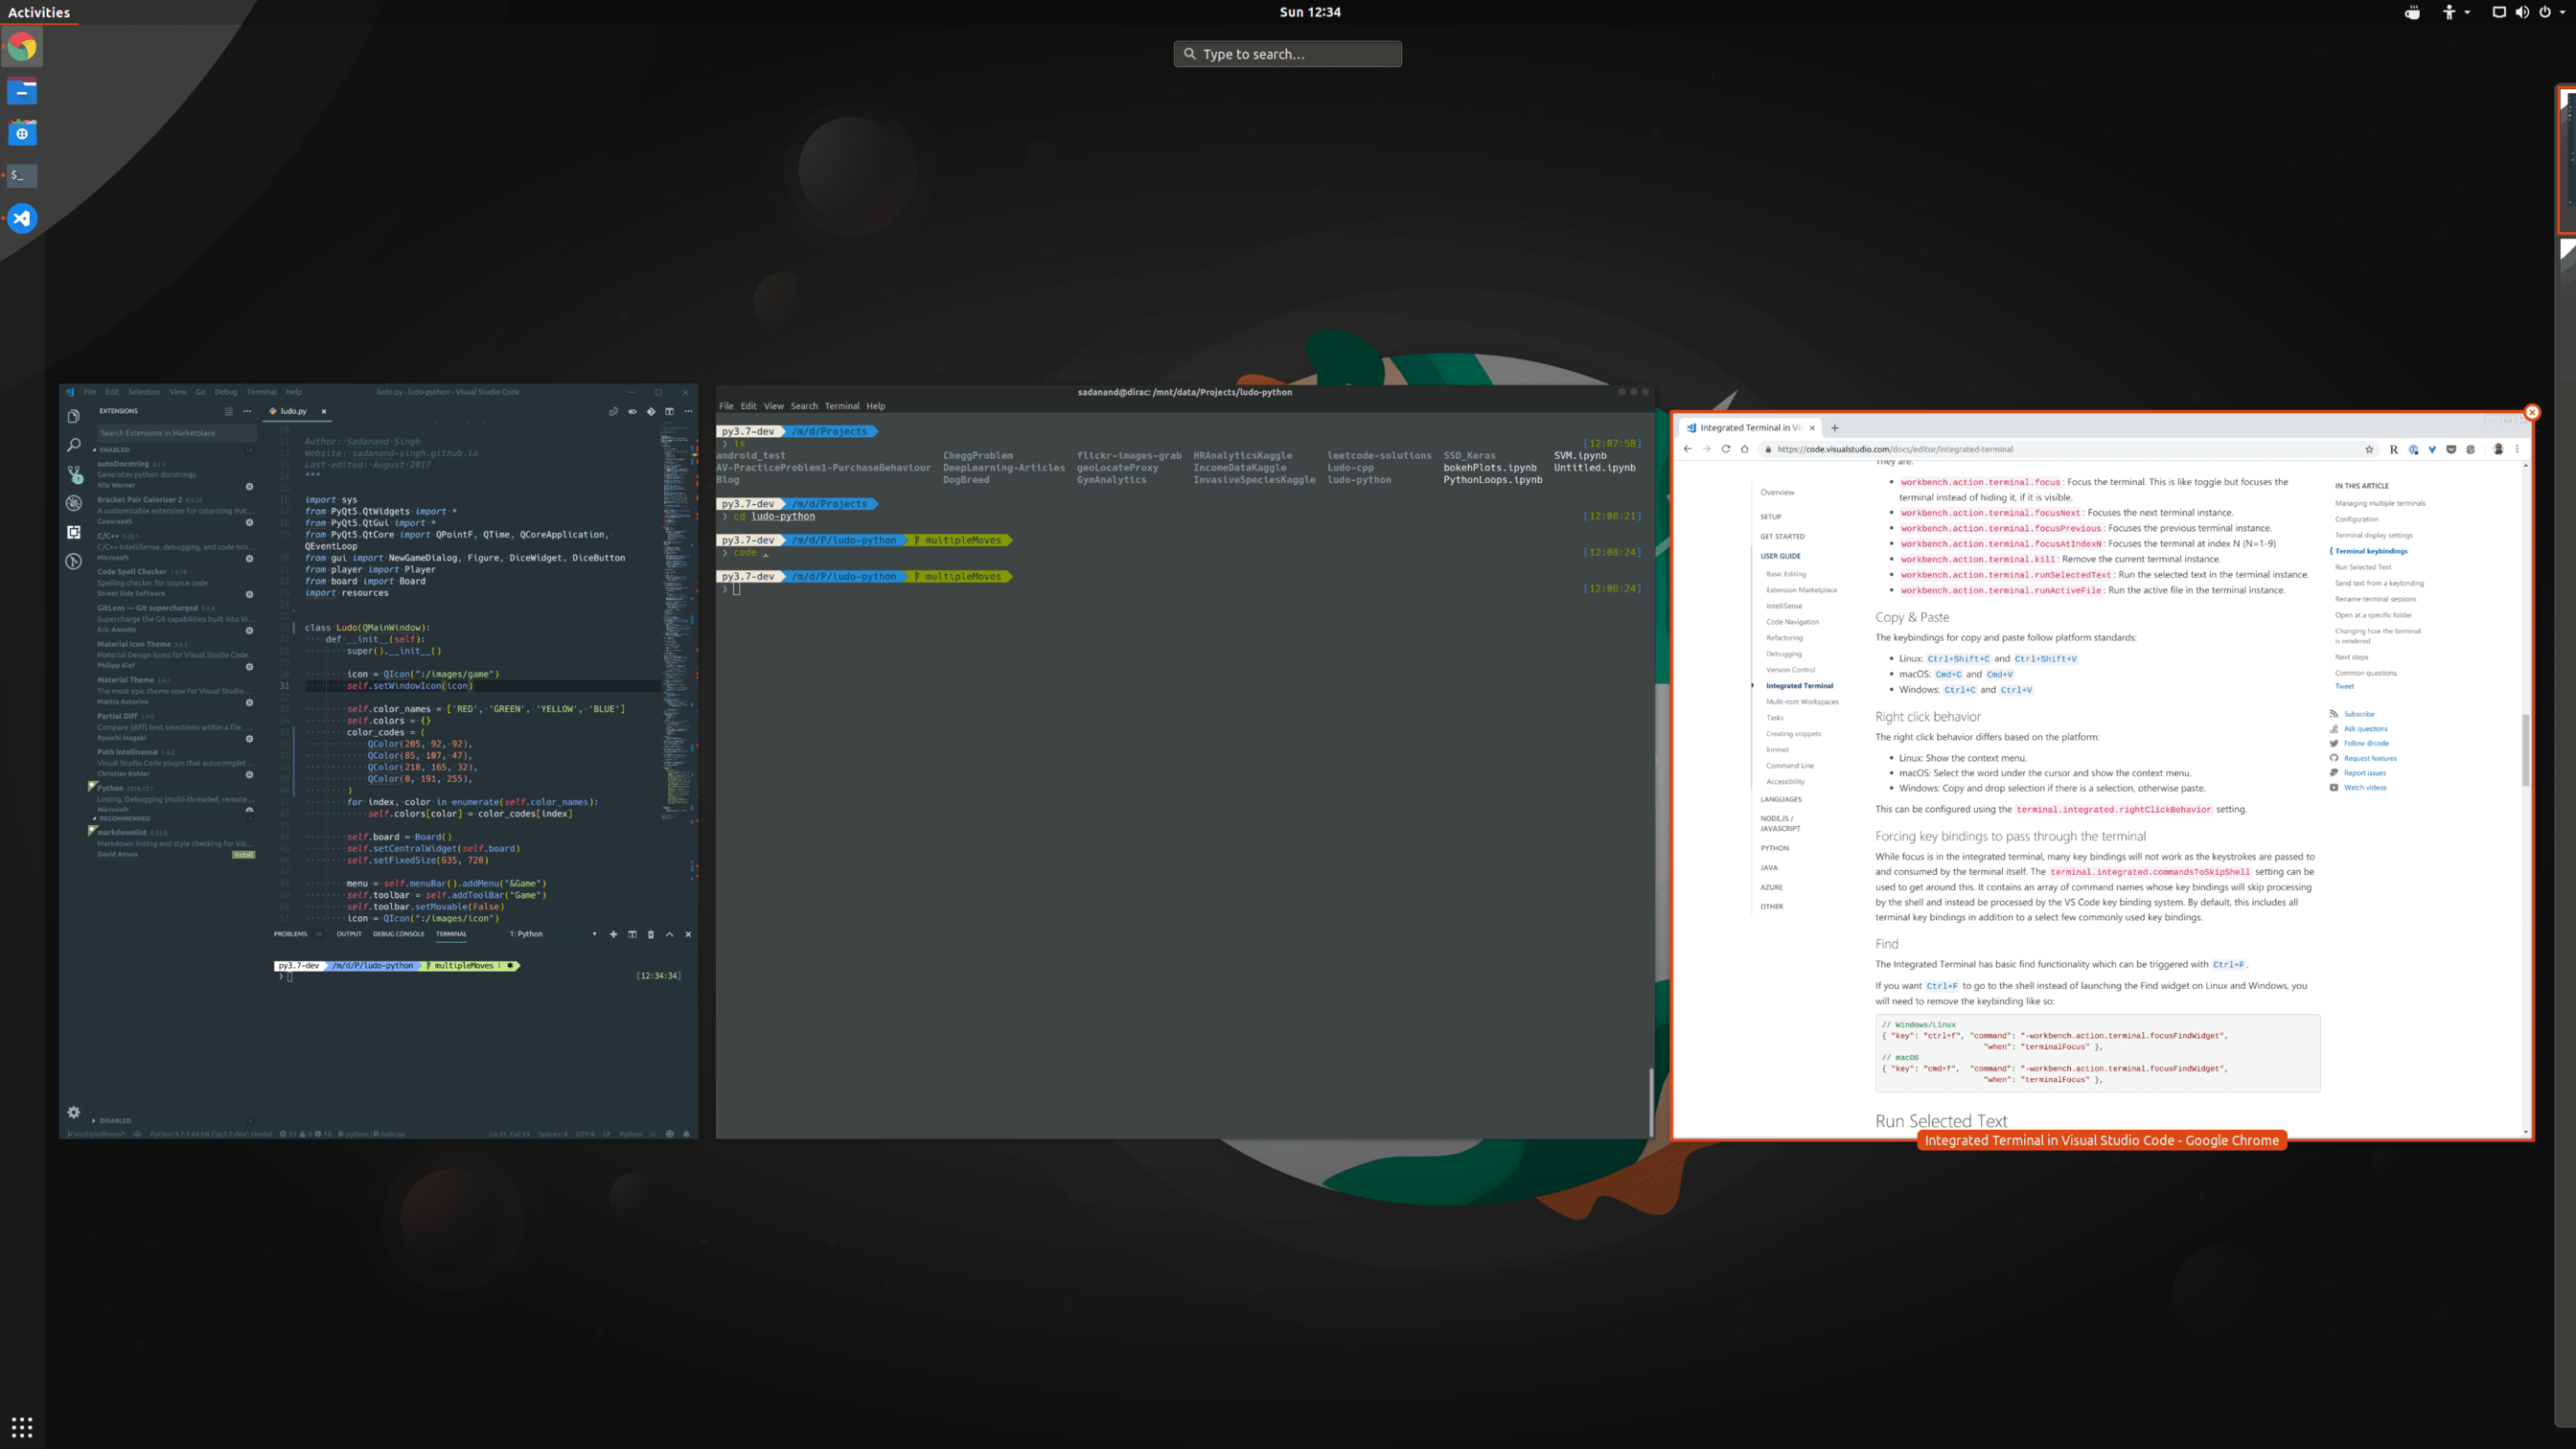
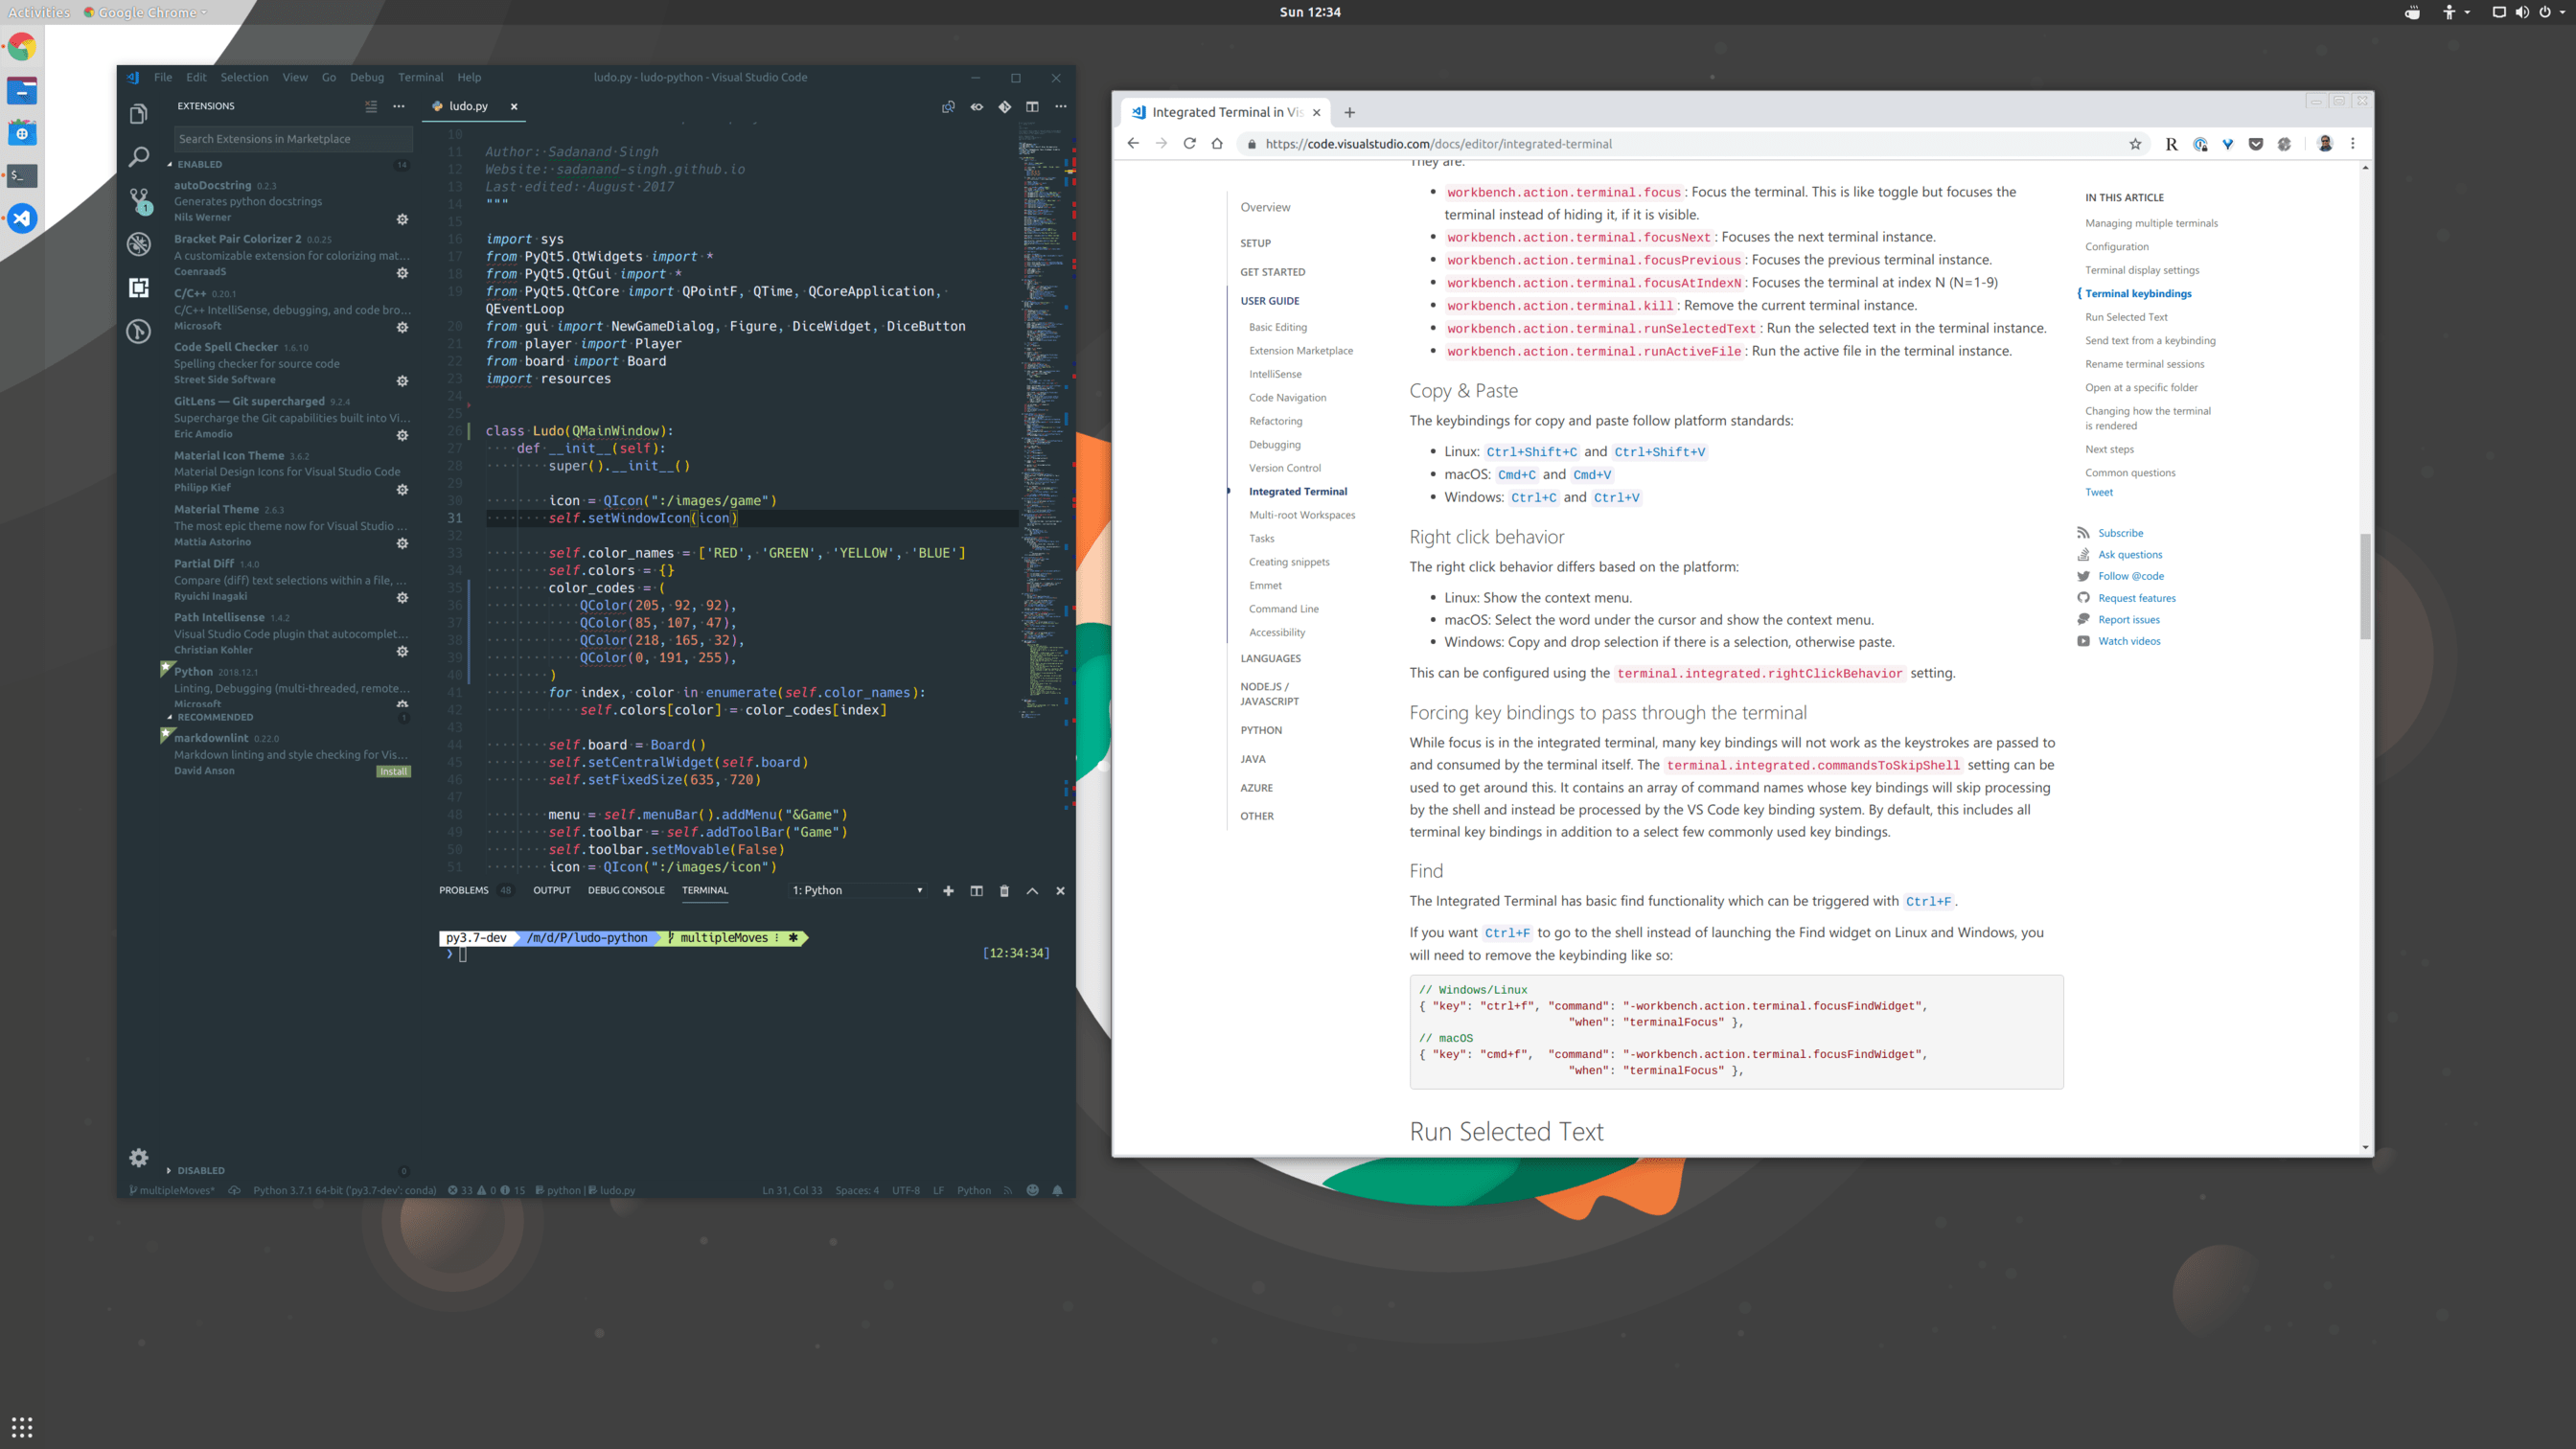
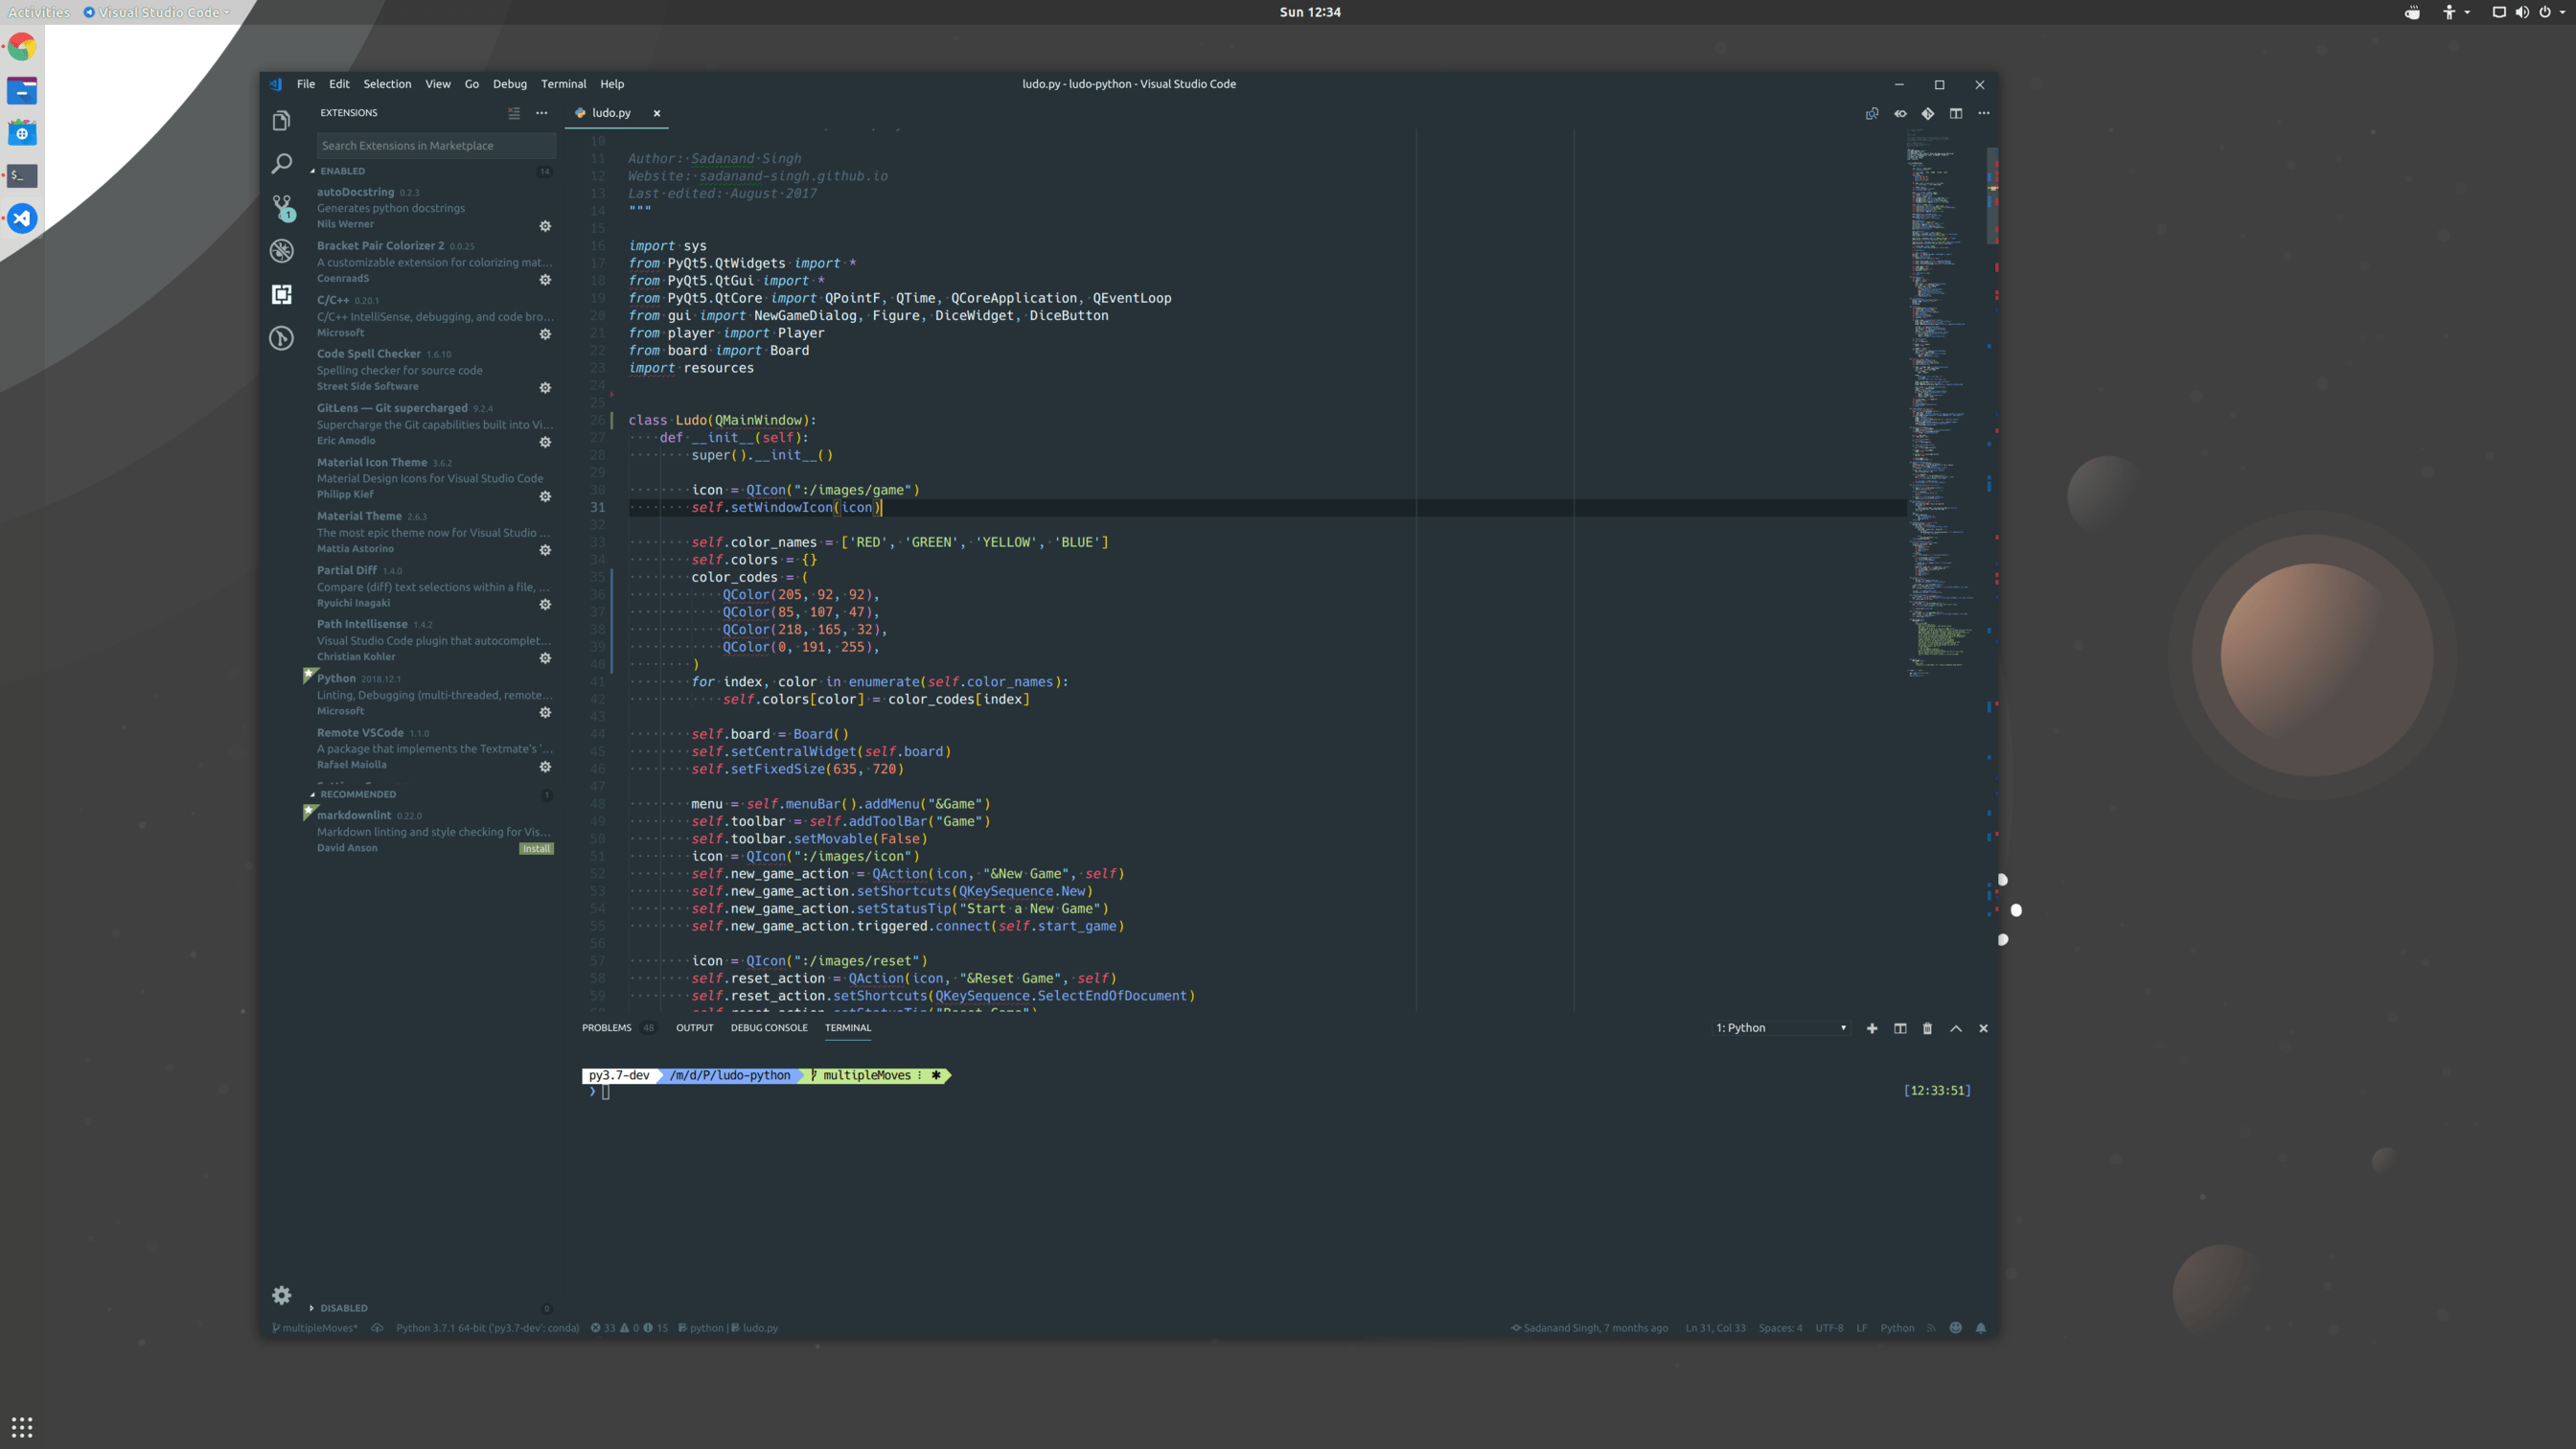
I prefer to use neovim and vim editors on terminal. And Visual Studio Code for my regular
full-time editing needs! I used to be a big fan of sublime text. However, due to
its “abandonware” status even after paying a steep price, I had to look at something more modern
and open source. I have found Visual Studio Code (VS Code) from Microsoft to be an
extremely powerful option. It has crazy amount of extensions, themes and much more than sublime
text!
You will first need to install it using the following ppa:
# First add the MS repo ppa
curl https://packages.microsoft.com/keys/microsoft.asc | gpg --dearmor > microsoft.gpg
sudo install -o root -g root -m 644 microsoft.gpg /etc/apt/trusted.gpg.d/
sudo sh -c 'echo "deb [arch=amd64] https://packages.microsoft.com/repos/vscode stable main" > /etc/apt/sources.list.d/vscode.list'

# Now install the editor
sudo apt-get install apt-transport-https
sudo apt-get update
sudo apt-get install codeI have several modifications to the editor using extensions, themes and user settings. The first extension I want to highlight is the one that enables me to quickly replicate my setup across machines - VS Code Settings Sync.
This enables you to save your settings and extensions as a private git gist. Please follow the above link to set this up properly and use it.
Overall my details setup can be found at this gist.
So this is a summary of my full setup. Its pretty easy to get started and maintain! Let me know your preferences in the comments below. And with that, lets all celebrate a Happy New Year!!
COMMENTS